Showing posts with label Tutorials. Show all posts

7.29.2015

Stampin' Up! Artisan Blog Hop-Watercolor Wings

Hello! Welcome back to another Stampin' Up! Artisan Design Team Blog Hop! Join us each week as Stampin' Up! Artisan Design Team members from around the world share our ideas using Stampin' Up! products with you!

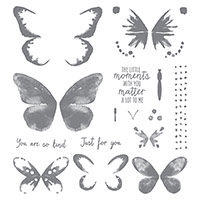
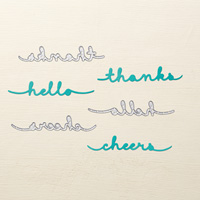
The new Stampin' Up! Catalog has gone live and you can now order all of the fabulous new products that the Stampin' Up! Artisan Design Team has been featuring! This week we are featuring the Watercolor Wings stamp set and the Bold Butterfly framelits which, BONUS, you can bundle them together and save $$$! Who doesn't love to save?!

I'll be honest. . . I loved the Butterfly Basics set and Butterfly Thinlits Dies that came out in the Occasions Catalog back in January. . . but, after making so many butterfly cards, I am soooooo over butterflies! Whaaaa??!! I DID NOT JUST SAY THAT! Sorry, I hope I have not offended any of you! I have seen so many butterfly cards I think I am eating, sleeping, and ........ butterflies!

Ya know what I love that is super trendy right now? Cacti and succulents. Yup! So. . . I modified my stamps in the Watercolor Wings stamp set to meet my desire to create a fun cactus card! Sorry. . . no butterflies here! Hope I haven't disappointed you, but I am quite proud of myself on this clever little card:
 

I think Jeanna would be quite proud of me too! Be sure and check out the video below to see how I used the butterfly images to create this little cactus!
Let's continue on the hop and go take a look at Cindy's fabulous project!

http://nutmegcreations.blogspot.ca/2015/07/artisan-jul-5.html

5.28.2015

Fancy Friday-Sketch Challenge

Hello everybody! Welcome back to another Fancy Friday! For this month's theme we are featuring a sketch challenge by the amazing Jen Timko! She is the sketch queen! I love the simplicity of her sketch, it leaves it open for many different interpretations! You can choose to go simple, or choose to go all out, and in my case I did both! (you'll get to see another card created with this sketch on my blog next month).

Check out the fun sketch:

and here is my take. . .
How funny, as I post them next to each other I realized I followed her color scheme too! Hahahah! Totally unintentional!

Love the foil on the card? ME TOO! I have been a foiling fool lately! I just can't get enough of it! Check out the video below to see how I used my Boho Chic embossing folder (available from Stampin' Up! June 2nd) to create the background for my card!

I must pause and put in a disclaimer so that I don't get in trouble by the compliance police. . .

*The above project and video below are not sponsored or promoted in any way by Stampin' Up!, American Crafts, or Heidi Swapp. I have NOT received compensation in any form including (but not limited to) monetary gain or free product. This is my own personal product usage and evaluation!

Okay, on with the show!

Fun, eh?!

Wanna participate with this month's sketch challenge? Leave a comment below with a link to your take so I can see what you come up with!

Now, let's head In The Cat Cave and see what the amazing Cathy came up with for the sketch, shall we?!

http://www.inthecatcave.com/2015/04/may-ff.html
Don't forget, I am offering FREE card kits! And I have just 2 kits left! Visit this post {HERE} for all of the details! Sneak peaks of projects below!
http://scrapjunkie-becky.blogspot.com/2015/05/free-card-kits.html

4.01.2015

Stampin' Up! Artisan Blog Hop-Mother's Love

Hello! Welcome back to another Stampin' Up! Artisan Design Team Blog hop! Join us each week as artisans from around the world share our creativity with you!

This week we have decided to feature the Mother's Love stamp set, which for me was perfect since Mother's Day is fast approaching! I used the Gold Soiree DSP to create some fun faux washi (video tutorial below), and added a few doodles and scribbles with my Project Life Journaling Pens.

Although. . . this gorgeous and fun 2-step-stampin' set can be used for much more than just cards for mom!
Ready to see how I gave the DSP an opaque look so it resembles washi tape? Super easy. . . check it out: (just don't laugh at how nervous and boring I am!)

Ready to continue on the hop? Let's hop on over to Cindy's blog! She's sure to astonish you with her gorgeous creation!
http://nutmegcreations.blogspot.ca/2015/04/artisan-apr-1.html
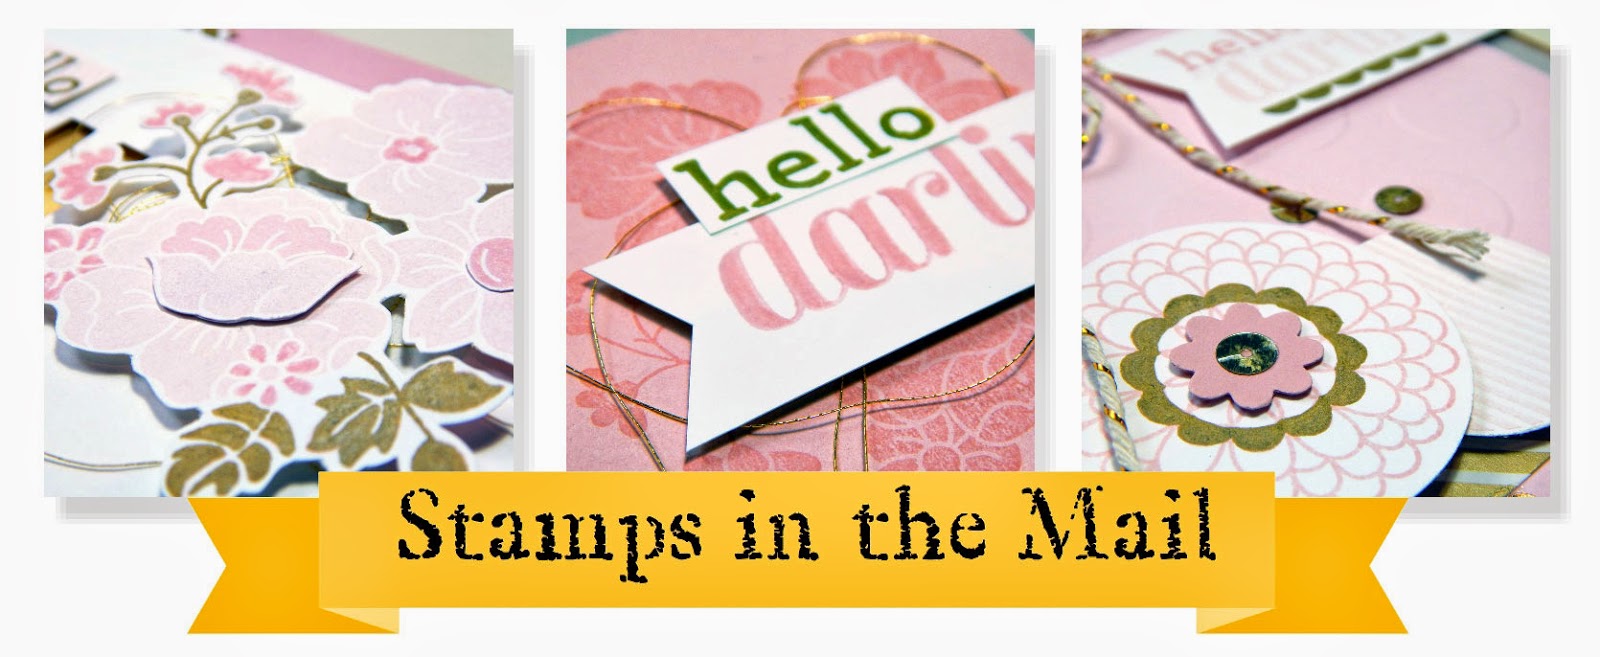
Don't forget, registration is now open for a new round of Stamps in the Mail! This quarter we are featuring the Hello Darling Stamp Set, plus we are offering a bonus project you won't want to miss out on! See details, or click on the Stamps in the Mail banner to sign up today!
http://scrapjunkie-becky.blogspot.com/p/stamps-in-mail.html

3.05.2015

Bonus Scrap Card for SITM!

Hey Everyone! As you may know, Allison Okamitsu and I are working together to provide a Stamps in the Mail crafting experience in which you can create with us in the comfort of your own home. . . and if you are like me, in the comfort of your PJs and bathrobe too! Today I wanted to share with you a bonus card created with some of the leftover scraps from March's SITM kit. So sit back and relax, or grab your crafting supplies to follow along, and enjoy the show!

Actually, my husband says that I am quite boring in my videos. . . really? Perhaps that is because I feel silly talking out loud when I am the only person in the room! Maybe next time I will gather a live audience to help out. . .

Here are some close up pics of the card:


All current SITM subscribers and new subscribers who sign up before March 10th will receive the paper kit to create this card in the March SITM kit! Register today!

2.26.2015

Fancy Friday


Hey Everyone! Welcome back to another Fancy Friday! For this month's hop we are featuring our favorite technique! Hmmm. . . there are so many fun techniques that I love, I had a difficult time choosing!

I have had a few people e-mail me and ask me how I created the background for my butterfly card I posted a few weeks ago, and though I thought about keeping you all amazed by not giving away my secret ;), I then decided this would be the perfect opportunity to share! I must warn you however. . . though it may look amazing and perhaps difficult to achieve the look,  this technique is actually super simple! Now I knew the technique I wanted to showcase, but I was stumped on a project idea. . . so I searched some of my favorite challenge blogs to help spark an idea. Wouldn't you know that both the Monday and Wednesday challenges over at Simon Says Stamp are both:

ANYTHING GOES and NO RULES!

HAHAHAHA! Not very helpful for my creativity stump. But, I finally decided to just start stamping and see where I ended up! I am going to show you the card first, then I will tell you step-by-step how I created the panel on the card. Check it out:
 
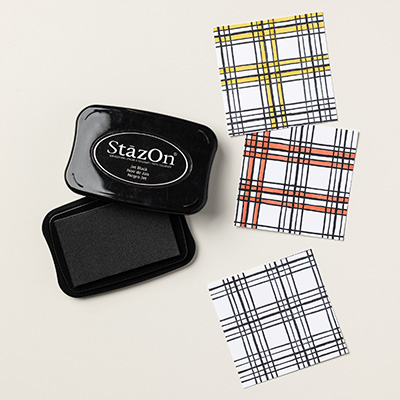
I started out by first stamping my lined image on my cardstock panel. Now, you will definitely want to use a non-water based permanent ink like the Stazon Jet Black ink pad, otherwise the image will just bleed out when you move on to the next step. As you can see, I only inked up a portion of the Pleasant Poppies background stamp.


I then took the small splatter image from the Gorgeous Grunge stamp set, inked it up (I actually chose to ink it up first in my Tangerine Tango, then in my Real Red ink pad to change the color slightly to a more vibrant red-orange) and spritzed it with water.

Then I stamped it twice without re-inking it (this allows for a dark and light image) and then repeated this process a couple of times until my image was colored in how I wanted.

I used the same technique with my Pear Pizzaz ink pad to "color in" the stems. **this was the last step I used for the Butterfly Card.

After allowing my image to dry completely, I used my Blender Pen and ink pads to color in a little more detail (this step isn't necessary, but optional to achieve the desired look.)

I then used the light splatter image, inked it up, and stamped it on my panel to create a darker splatter.

Now, this creates a fun panel you can leave it as is and create your card from here, or you can opt to try out another fun technique! Lately I have been fascinated with Mixed Media. I love the look of all the layers and textures, I love the creativity that is expressed, and I am one who likes to get my hands inky! So. . . I added a few more stamped images using the Butterfly Basics stamp set which has many great images you can use to achieve a collage look. Then I covered the panel completely with my glue stick. You can also use modge podge for this step.


Then, I took a wadded up piece of tissue paper, unwadded it. . . is that a word? Then laid it on top of my cardstock panel wrinkles and all! I used my finger to smooth it out over the panel and make sure every square inch was glued down.
Then, I trimmed all of the extra overhang of tissue paper from my cardstock panel.

If you notice, adding the tissue paper over has softened the image by quite a bit, and almost has washed out the flowers, so using my Blender Pen and Project Life Pen I went back over a few portions of the image to brighten it up a bit. Now, you will want to be sure and "dab" the color on by pressing the side of the pen tip onto your paper rather than using the back and forth motion of coloring, as this could tear the tissue paper.

Then I added a few "scribbles" with my Project Life pen, and viola! I know had a completed panel to use for my creation.
 
Hope you enjoy these fun techniques! Now, before we head over to Cathy's blog, I have a winner to announce from last month's Fancy Friday post! and the winner is:

Amy McCue!

Amy, e-mail me your address and I will get that stamp set out to you ASAP!

Now, let's head In The Cat Cave and see what Cathy's fun technique is, shall we?!
http://www.inthecatcave.com/2015/02/feb-ff.html

1.14.2015

Stampin' Up! Artisan Blog Hop-&

Welcome back for another Stampin' Up! Artisan Design Team Blog Hop! This year is an international team, so be sure to travel around the world with us as as we share our creativity and ideas with you!

I {heart} mugs.

I must have my morning coffee to survive the day.

I made a fun {ampersand} coffee mug using the Birthday Bash Designer Washi Sheets, the You Plus Me stamp set, and some porcelain chalk paint. Check it out:


Fun, eh?! And. . . super easy to make! Here's how:

Stamp your stamp on a washi sheet.
 
Use an exact-o knife to cut the image out.
Save the cut out, you could use it to make a mug with a mirror image. Place the negative (or positive, depending on what you want your mug to look like) on your mug.
Paint over the mask with porcelain chalkboard paint. Allow ample time to dry.

Remove the mask, and you have your custom mug!

Let's go see the details on Cindy's project, shall we?!
http://nutmegcreations.blogspot.ca/2015/01/artisan-jan-3.html

Register for this month's Stamps in the Mail! E-mail me today to sign up! If you are in Canada, you can still get the same kit, just contact Allison Okamitsu!